When we heard JIDOKA was organising a Hackathon we immediately knew which challenge we wanted to solve. Said challenge kept rearing its head during internal projects:
- “Who are you and what are you allowed to do?”
Context
Every internal JIDOKA app had its own identity and access management system, some more advanced than others. Our team goal was to simplify and standardize these systems by migrating to a single source of truth which would rule them all.
During our preparation we searched for possible candidates for the Identity & Access Management framework. We settled rather quickly on Keycloak due to it being:
- well-maintained
- free
- self-hosted
- open-source
Next we had to choose a project which would act as our sacrifice to the hackathon coding gods. Our preference was the internal cv-app which could be summarized as:
- written in Angular
- uses a self-rolled identity and access management system
- supported by a Spring Boot backend
- one of the hackathon team members had originally co-written this application which was a plus
Due to JIDOKA using LDAP for our internal Atlassian stack, an extra requirement popped up. We wanted to continue using this data source after the migration to Keycloak. This would result in existing users being able to login on Keycloak using their LDAP credentials and newly created users being synced back the LDAP.
Summarized, our goal was to setup a standalone keycloak instance , integrate it with the LDAP and modify the cv-app to utilize keycloak.
And then it starts…

… with reading?
Our approach consisted mainly of reading documentation… A lot of documentation…
First we had to familiarize ourselves with keycloak basics:
- the many possible features it offers
- the best way to get an instance running in our architecture
- how it fits in the oauth2 ecosystem
- the many different terms found in keycloak
- how to actually configure the instance
Spinning up a development environment
For spinning up the infrastructure, we went took the mainstream approach, creating docker containers for:
- opendj
- keycloak
- postgresql database
The exact configuration for this infrastructure you can find below. The JIDOKA-ldap image is a custom docker image we created, due to there being no public image suited for our needs at that moment. This image delivers a fully configured instance, without any user interaction, ready to rock and roll.
Everything else is mostly standard. We wanted to be prepared for when this POC would ever land in PRODUCTION, so we modified some defaults. One being the default Keycloak database, an in-memory H2 database, which is mostly useful to play around with. Instead we switched to a PostgreSQL database, keeping easy future backups in mind. In order to avoid too much setup hassle for the developers, Keycloak will load a configuration file (.json) which results in a fully configured REALM. This configuration contains:
- user federation (LDAP connection)
- identity provider (LinkedIn connection)
- realm roles
- client
version: "3.7"
services:
jidoka-ldap:
  image: nexus.jidoka.be:3000/jidoka-ldap:0.0.2
  container_name: jidoka-ldap
  ports:
    - 1389:1389
jidoka-keycloak-db:
  image: postgres:12.1
  container_name: jidoka-keycloak-db
  ports:
    - 5499:5432
  environment:
    - POSTGRES_PASSWORD=
    - POSTGRES_USER=
    - POSTGRES_DB=keycloak
jidoka-keycloak:
  image: jboss/keycloak:8.0.1
  container_name: jidoka-keycloak
  ports:
    - 8484:8080
  environment:
    - DB_ADDR=jidoka-keycloak-db
    - DB_PORT=5432
    - DB_USER=
    - DB_PASSWORD=
    - DB_VENDOR=postgres
    - KEYCLOAK_USER=
    - KEYCLOAK_PASSWORD=
    - KEYCLOAK_IMPORT=/opt/jidoka/config/jidoka-realm.json
  volumes:
    - ./jidoka-keycloak/config:/opt/jidoka/config:ro
  depends_on:
    - jidoka-ldap
    - jidoka-keycloak-db
Migrating the frontend
Next up: cv-app migration.
One would usually utilize keycloak-js but we opted for Keycloak-Angular instead. This library automatically handles token management which simplifies our business logic a lot.
We added an Angular app initializer which would block the application until keycloak had resolved its login process. Once this phase passes the user is logged in, the loading state disappears and the application is ready to go. Any Authentication-headers during http-calls and refresh token shenanigans are automatically resolved by Keycloak-Angular. Logging out is also as simple as calling a method on the keycloak instance.
Don’t forget about the backend
The authentication and authorization in the cv-app was pretty easy to remove. So that we ended up with a clean sheet and a world of possibilities to introduce authentication and authorization in a new way.
With the help of some Spring magic, the migration to Keycloak was not the hardest thing to do. The Keycloak developers created a Spring Boot starter (keycloak-spring-boot-2-starter) that add some magic and ease of integration.
Only with a few lines of configuration
keycloak:
auth-server-url: http://localhost:8484/auth
realm: <realm>
resource: <client_id>
bearer-only: true
And providing a bean implementing the KeycloakWebSecurityConfigurerAdapter
@KeycloakConfiguration
public class SecurityConfig extends KeycloakWebSecurityConfigurerAdapter {
  @Override
  public void configure(WebSecurity web) throws Exception {
    super.configure(web);
    web.ignoring()
          .antMatchers(OPTIONS)
          .antMatchers(GET, "/info");
  }
  @Override
  protected void configure(HttpSecurity http) throws Exception {
    super.configure(http);
    http.authorizeRequests().anyRequest().authenticated();
  }
  @Autowired
  void configureGlobal(AuthenticationManagerBuilder auth) {
    auth.authenticationProvider(super.keycloakAuthenticationProvider());
  }
  @Bean
  @Override
  @ConditionalOnMissingBean(HttpSessionManager.class)
  protected HttpSessionManager httpSessionManager() {
    return new HttpSessionManager();
  }
  @Bean
  KeycloakConfigResolver keycloakConfigResolver() {
    return new KeycloakSpringBootConfigResolver();
  }
  @Override
  protected SessionAuthenticationStrategy sessionAuthenticationStrategy() {
    return new NullAuthenticatedSessionStrategy();
  }
}
The backend was fully configured. Yet this was not the end for this migration. There are of course business flows that needed to change that took up the rest of the time in the hackathon.
Then there was some culture

On just a few kilometers from our weekends location there was a fine place called Belgium Peak Beer. With a mandatory break presenting itself this meant the ideal moment to get in the car for some snacks (but mainly to taste some beers). When in the neighborhood, we highly suggest stopping there.
The result
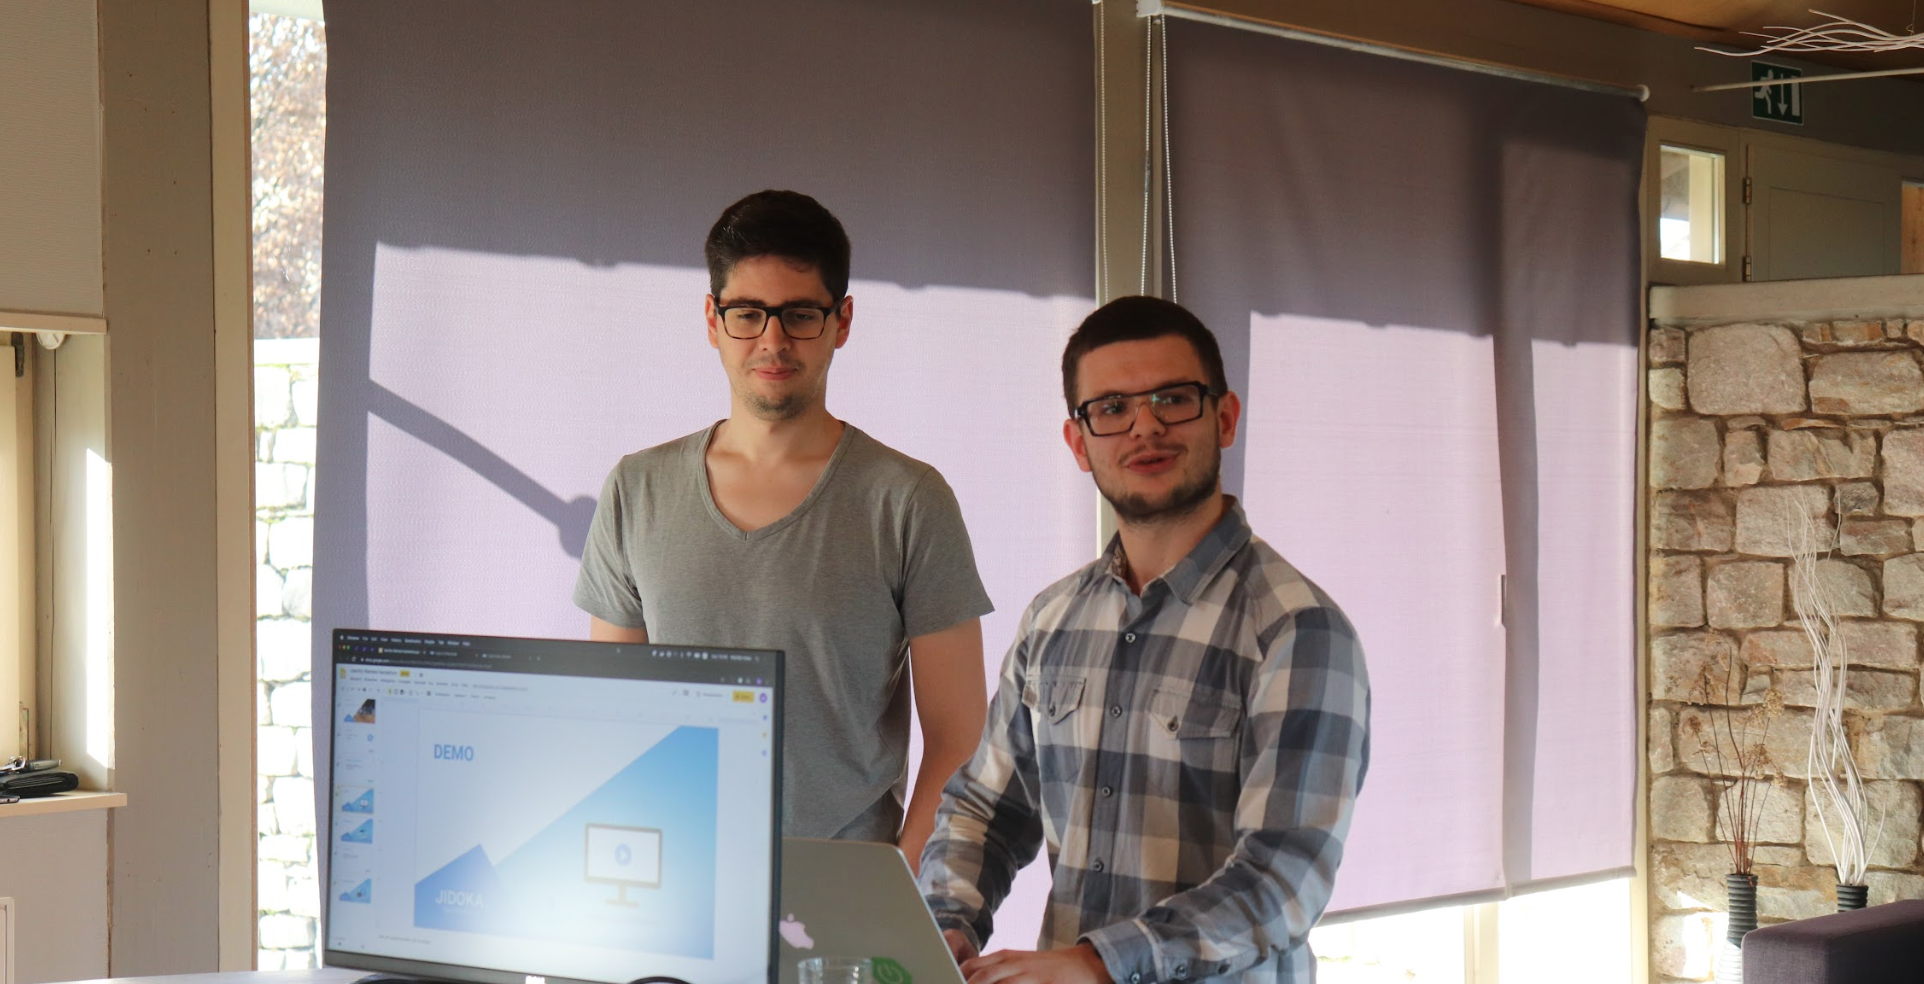
In the end we met our goals of integrating cv-app with an Identity and Access Management system. Being able to demo all the functional flows that the application contained. Even being able to add some extra features that were on the wishlist of our HR manager, to give an indication what is possible.
What’s next?
As the context was to make it work, not to make it beautiful (or tested), a lot of cleanup still has to happen before we can ship it to PRODUCTION. Also, the JIDOKA infrastructure should deploy a Keycloak instance, which is slightly interfered with due to the infrastructure currently being migrated to K8S. Once completed, only one task remains… Rewriting the other internal applications to use Keycloak.


